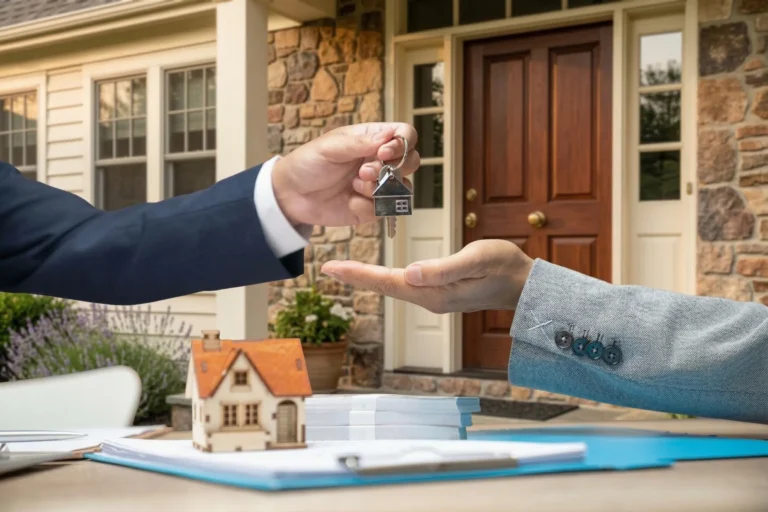
Exterior thermal insulation is currently one of the most effective interventions you can make to your home. It drastically reduces energy losses, provides thermal comfort 365 days a year, and protects the building’s structure from weather conditions. At the same time, it significantly increases the value of your property, as it automatically improves its energy class—a criterion that carries growing weight in the real estate market.
In this guide, we analyze everything regarding exterior thermal insulation: from the dominant materials and systems in the Greek market, to the cost, the application process, and the mistakes you should avoid.
Why Exterior Thermal Insulation is Essential
A building without proper insulation loses up to 40% of its heat through external walls. This translates to exorbitant heating bills in the winter and cooling bills in the summer. Exterior thermal insulation creates a continuous “shell” around the entire building, eliminating thermal bridges—the points from which energy “escapes.”
Beyond energy savings, thermal insulation prevents moisture condensation inside the walls. Moisture is the “silent enemy” of any construction, as it causes mold, deteriorated plaster, and even structural problems if left unchecked. With a properly installed exterior thermal insulation system, the wall remains warm and dry throughout its length.
Exterior Thermal Insulation Systems: Which One Suits Your Home
There are several systems on the market, but the two most prevalent in Greece are the external thermal insulation composite system (ETICS/EIFS) and the ventilated facade. The choice depends on the type of building, the budget, and the desired aesthetic result.
Thermal Facade (ETICS) It is the most widely used system and consists of thermal insulation boards (usually EPS or XPS) that are glued and mechanically fastened to the exterior wall. This is followed by a fiberglass mesh layer, a base coat, and a final decorative plaster. It is the most economical solution, applies quickly, and provides a uniform, fresh aesthetic result to the facade. Ideal for apartment buildings and single-family homes with classic architecture.
Ventilated Facade This is a more premium system, where the insulation is placed behind an exterior cladding (stone, ceramic panels, aluminum, or wood) with an air gap between them. This gap creates natural ventilation, expelling moisture and further improving thermal performance. It is recommended for modern architectural projects and commercial spaces, although the cost is significantly higher.
Insulation Materials: EPS, XPS, Stone Wool, or Graphite
The choice of insulation material directly affects performance, cost, and fire safety. Many names are thrown around, but let’s clarify them:
- Expanded Polystyrene (EPS): The classic and most economical choice. Lightweight, easy to apply, with very good thermal insulation properties. Suitable for most residences.
- Extruded Polystyrene (XPS): Denser and more moisture-resistant than EPS. It is primarily used in basements, foundations, and areas with high humidity.
- Stone Wool: Excellent fire safety (resistant to temperatures over 1000°C) and very good sound insulation. Ideal for apartment buildings and structures requiring increased fire protection.
- Graphite Polystyrene (EPS Graphite): The evolution of EPS—it contains graphite particles that reflect thermal radiation. It offers 20% better insulation at the same thickness, solving the problem for facades with limited space.
The right choice depends on the geographical location (climate zone), building type, regulatory requirements, and budget. A specialized engineer can conduct an energy study and recommend the optimal thickness and material.
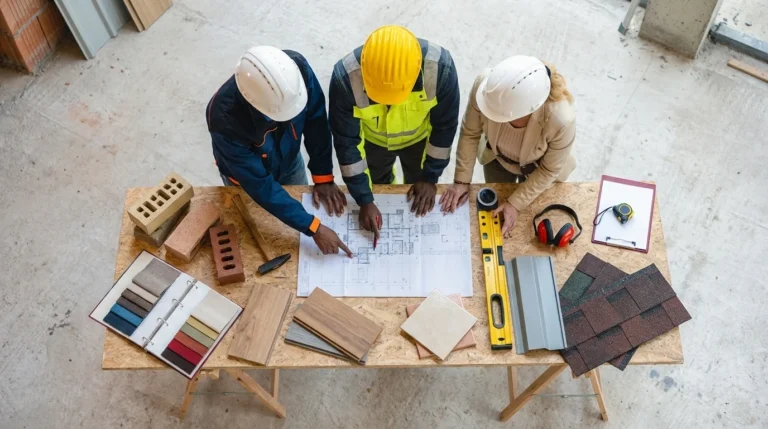
The Step-by-Step Application Process
Proper exterior thermal insulation is not just “glue and a panel on the wall.” The quality of the application is just as important as the quality of the material. The basic steps include:
- Preparation of the surface (cleaning, crack repair, priming).
- Gluing the insulation boards with special adhesive and mechanical anchors.
- Installation of corner beads and fiberglass mesh.
- Application of the base plaster.
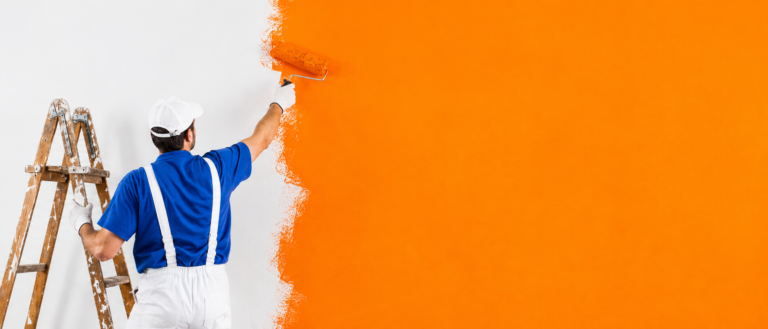
- Application of the final decorative plaster (acrylic or silicone).
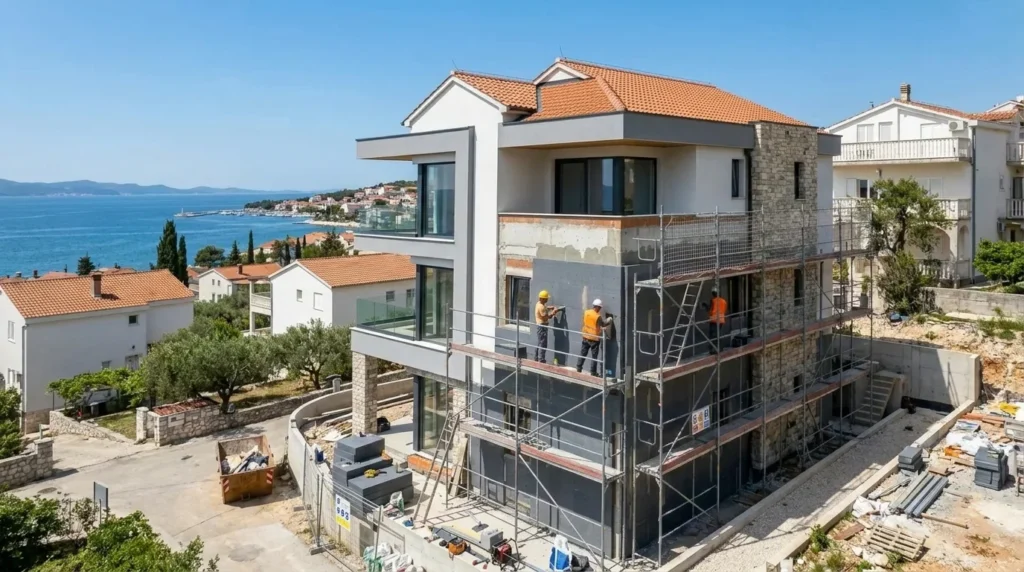
The work is usually done using scaffolding, and the duration depends on the size of the building. For a typical single-family home of 120-150 sq.m., expect 2-4 weeks. During the works, you do not need to leave the house—everything is done externally.
Cost and Subsidies
The cost of exterior thermal insulation typically ranges between 40-80 €/sq.m. of wall area, depending on the system, insulation thickness, access difficulty, and local labor rates. For a single-family home with 200 sq.m. of external surface, the budget ranges from 8,000 to 16,000 €.
The good news is that the Greek state regularly offers energy upgrade subsidy programs (such as “Exoikonomo”), which can cover 50-80% of the cost. It is worth checking current programs before you begin, because the savings can be enormous. In any case, thermal insulation pays for itself in 3-7 years through the reduction of energy bills.
Conclusion
Exterior thermal insulation is not a luxury—it is one of the smartest investments you can make in your property. It reduces energy bills, eliminates moisture problems, upgrades the energy class, and radically renews the building’s image. The key is the correct choice of material, meticulous application by specialized crews, and the utilization of active subsidies.